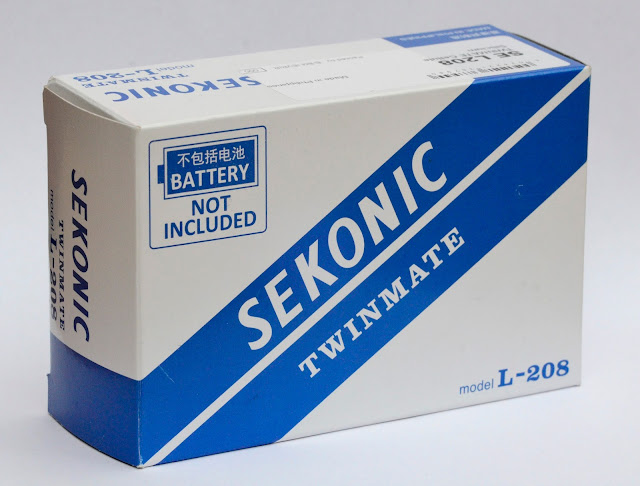
Sekonic Twinmate L-208
Back in the seventies my first 'proper' camera was a Russian Zenit B SLR. This was a fully manual camera i.e. it did not have a built in light meter. There were three ways to get the correct exposure. One was to use the exposure guide printed on the instruction sheet (later printed inside the cardboard box) that came with the film. You would have to estimate the lighting from a range of examples and set the camera accordingly. A variation on this is the 'Sunny 16' rule. This states that on a bright, clear sunny day with the sun behind you, your exposure at an aperture of f16 is 1 over the ISO of your film. I.e. for a ISO200 film the shutter speed should be 1/200th second. Most cameras will have a 1/250th second setting so you would set to this and the exposure latitude in the film would mean you still got a good exposure. Obviously you can adjust the shutter and aperture in stops to keep the correct exposure i.e. one stop change would be 1/500th second at f11 for the above example.
The second way is to use experience. Somewhat haphazard but I find that even today I can usually guess the light level with in two to three stops. "It looks like an ISO 100, f5.6, 1/125th second type of day". Again if using negative film the film latitude will mean that you get something reasonable on the negative.
The third way, and it's a bit of a lost art in popular photography is to use a light meter. Back in the seventies I used to borrow my father's Weston Master IV. This was a selenium cell light meter. I still have the meter but unfortunately it no longer works. As I get back into film photography with manual cameras I have decided that I now need a lightmeter again. I was given the Sekonic Twinmate L-208 for a Christmas present. Let's see how it performs.
First thing you can notice is its size. It's small and light. It comes with a velvet pouch on a lanyard but even with this it comfortably fits into the pockets of a pair of jeans.
The meter needs a CR2032 cell for power. There is a compartment for the cell on the back of the light meter.
To use the meter you first need to set the ISO required on the inner dial, as shown above. Here it is set to ISO 200.
The meter can measure reflected (above) or incident (below) light by moving the white plastic diffuser. For reference, for reflected light you point the meter at the subject and measure. For incident light you hold the meter in front of the subject and point it at the light source.
The meter saves battery power by turning itself off. The needle will rest at the left of the dial.
When everything is set as required you press the small button on the side of the meter to take a light reading. The meter holds the reading for about 30 seconds,
You the turn the outer dial on the front of the meter so that the green arrow lines up with the orange meter needle. This will then show the aperture/shutter speed combinations that can be used at the measured light level. In the picture below we could use 125th second at f5.6 or any of the other combinations shown on the dial.
The use of the meter is simple enough. The skill in using it is knowing when to use reflected or incident light and learning how much of a view it will measure. You then need to know where to point it. This skill will increase with experience. For use with cameras with no built in meter it is invaluable. However I find I also use it with my modern digital cameras to get the right exposure first time. I don't need to bracket the exposures and therefore can hit the shutter release at exactly the right time.
I purchased the meter from Amazon for just under £100. It has been a good purchase. I find that between the meter and the sunny 16 rule I can get a much higher percentage of correctly exposed shots.


Comments
Post a Comment